How to Plant Grass Seed on Hard Dirt: Everything You Should Know About
The lush green lawns outside a house look stunning, right? Walking on the soft grass while basking in nature’s glory is the perfect way to start or end your day.
The idea of having your own lawn with soft, lush green grass can be too tempting. However, creating a lawn and planting grass on it can be challenging, especially if you are doing it for the first time and have dry and cracked soil around your home. However, with the right tips and methods up your sleeve, you can create the lush green lawn of your dreams.
If you believe you cannot plant grass seeds on hard dirt, this blog post will change your mind! Today, we will tell you how to plant grass seeds on hard dirt easily and effectively.
By the end of this piece, you will have a pretty clear idea about how to successfully plant grass seeds in your hard-dirt yard.
So, let’s dive in!
Planting Grass Seeds on Hard Dirt: 7 Easy Steps
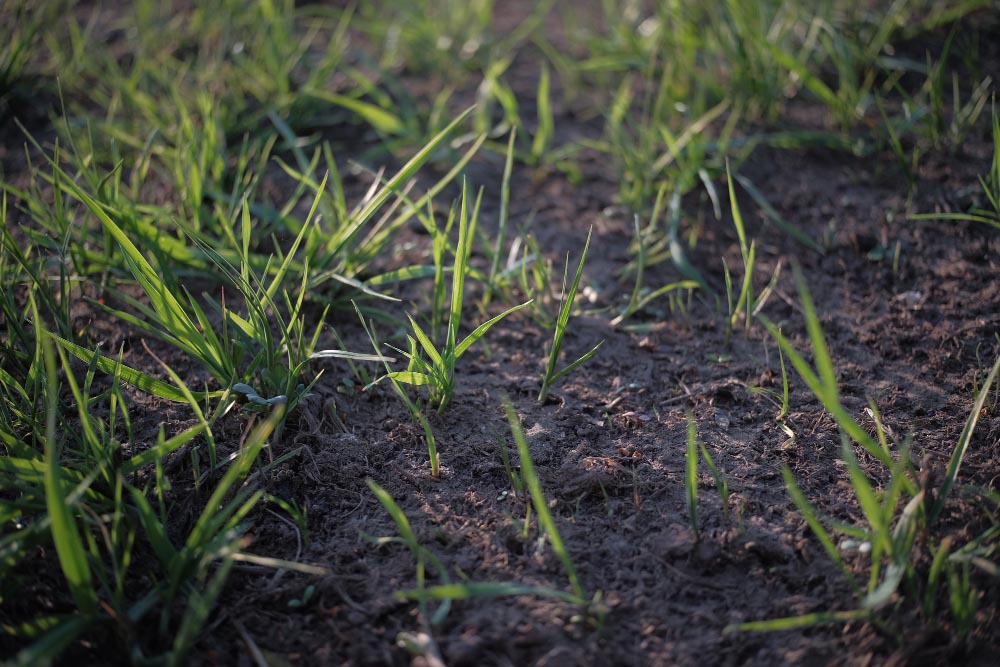
If you have a hard-dirt lawn, the most common reason for this is heavy clay soil. Such soil is highly compact and not very ideal for growing plants. In such conditions, the soil particles are stuck together so tightly that it makes it impossible for the grass roots to penetrate the earth and grow.
This soil is found on lands cleared by bulldozers, with houses or estates built on it.
The best way to plant grass on hard dirt is by improving the soil conditions first and then carrying out the task. While it can be time-consuming and a bit expensive, doing so is necessary for successfully planting grass and creating the green lawn you always wanted!
Here are the seven steps to help you get started!
Step 1: Soil Testing
You should start the process by getting your soil tested. Testing your soil will help you understand its composition and will eventually put you in a better position to improve its condition.
A soil test will help you figure out what is causing your soil to get hard in the first place. There are several reasons for soil hardening. It can be due to a lack of essential nutrients, poor health, or unsuitable pH levels.
You can also get your lawn soil tested in a laboratory, and the cost will generally be around $30 to $50. This small expenditure will go a long way in helping you understand your soil and take steps to improve it.
Step 2: Get Your Hard Soil Aerated
Once your soil is tested, it’s time to get it aerated to improve its condition. The problem with hard, compacted soil is that it has no air pockets. This makes it hard for air, water, and nutrients to flow through the soil, making it challenging to grow grass or any other plant.
Aeration helps in loosening the soil and making air pockets into it. You can conduct the aeration process using a rototiller or a core aerator. The core aerator is similar to a lawn mower and helps you plug out dirt from the grown and help you create air pockets into the soil. All you need to do is take the machine over the hard areas and press it firmly into the hard soil.
On the other hand, if your soil is too hard, you may need to till it to create air pockets. This is where a rototiller comes into the picture. It is a machine that helps you break up the top eight to ten inches of your hard and poor-quality soil, making it more suitable for growing grass.
You can easily rent these machines from your local gardening center or hire professionals to do the job for you. It will depend on your budget.
Step 3: Add Topsoil and Organic Matter
Once you are done with the tilling and your hard dirt soil becomes workable, it’s time for the next steps. You can use the tilling machine to dig up the soil and then add the organic matter to it. Adding organic matter helps improve the soil’s quality and make it richer.
We recommend buying high-quality and nourishing topsoil from your local store and sprinkling it on your freshly tilled and aerated soil. Doing so will keep the dirt nice and loose and prevent it from compacting again. It will also prepare the soil for grass seed plantation.
You can also add some high-quality fertilizer to the soil. It will enhance the soil’s nourishing abilities, which can be helpful when you sow the grass seeds into it later.
However, you should know that topsoil can be expensive, so make your budget accordingly.

Step 4: Start with the Leveling
Once you have added the topsoil and fertilizer, it’s time to level your soil, so there are no uneven paths or bumps. We recommend waiting for some time so the soil can settle a bit before starting the leveling process.
You can use a lean roller to level your soil and ensure that it is flat and even. You will have to level it a few times before the surface becomes nice and even.
Step 5: Select the Grass Seeds You Want to Sow
After you have leveled the soil and are satisfied with the results, you can start the next steps.
When planting grass, it is crucial to choose the right seeds that are suitable for your region. If you choose an inferior variety of grass, it may end up not germinating, wasting all your hard work.
We recommend not cutting costs when planting grass seeds in your hard-dirt yard. Buy the best quality seeds you can find in the market. They will grow into healthy and stunningly green grass.
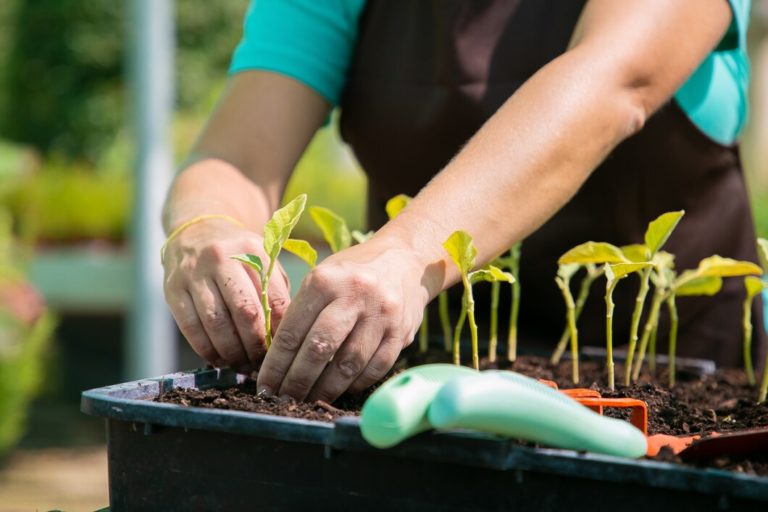
Step 6: Plant the Grass Seeds That You Have Brought
After purchasing the best quality seeds, you should start with their plantation process immediately. The best way to do this is by manually spreading the grass seeds with your hands. You can also use a seed spreader if your lawn area is too large and spreading seeds with your hands is too difficult.
We recommend spreading the seeds on your topsoil as soon as possible, preferably within hours of aerating it. Doing so will ease the grass’s seeding and growing process and make it easier for you to sow the seeds.
Make sure to add a thin layer of topsoil over the grass seeds to start germination.
Step 7: Watering Your New Yard
After planting the grass seeds, taking good care of them is crucial. You must ensure that your newly planted grass seeds receive plenty of moisture for germination.
The best time to water the ground is early in the morning or before the sun sets for at least eight to ten minutes. Focus on watering your entire yard, and do not leave any spot dry. This will ensure that all the grass has received plenty of moisture and will grow equally.
However, it is also essential to not over-water your yard. After all, you just want to moisten the ground and not drown your newly planted seeds, right?
A lawn with fully grown grass can be watered four to five times a week and not more than that. Thus, for the first few weeks, stick with watering two times a day. Then when you see the grass sprouts emerging, you reduce the watering frequency.
What is The Ideal Time to Plant Grass Seed on Hard Dirt?
While planting the grass seeds as soon as you have aerated the soil is recommended, you can do it during the colder months when the winter isn’t over yet.
Do not wait for the onset of summer. This is because some varieties of clay soil are prone to revert to their original dry characteristics. The hot months of summer can encourage that, making it difficult for you to plant and grow the grass properly.
Thus, starting with the grass plantation during the early spring is better so that by summer, your grass has started growing (or has reached maturity), and you have your lawn ready!
Wrapping Up
So there you have it! That was everything about how to plant grass seed on hard dirt. Yes, it takes a lot of energy, hard work, and time to plant grass seeds on hard dirt, but it is totally with it.
You can keep beautiful chairs in your new yard, let your pets or kids (if you have any) play around happily, or host lawn parties with your friends. And once you are done with the entire process, the result will make you incredibly happy and satisfied. Sounds fantastic, right?
So, go through all the steps mentioned above again, collect all the supplies and products you may require, and get down to work. Your dreamy, lush green lawn awaits!
Related Posts: