How to Plant Garlic: A Step-By-Step Guide
Garlic is a whole-package crop, so it’s only natural to consider growing it.
This flavorful perennial plant instantly enriches recipes, just like its close relatives, onions, chives, and shallots. Not to mention its health benefits, from boosting the immune system to lowering the risk of heart disease.
The icing on the cake is that garlic is extremely simple to cultivate and care for.
Even if you weren’t blessed with green thumbs, we’ve put together this comprehensive guide on how to plant garlic. We’ll walk you through the process, from picking the garlic clove to storing your grown bulbs.
So, roll up your sleeves, and let’s get to it!
How to Plant Garlic at Home
In this section, we’ll go over the seven major steps for planting garlic:
Select a Suitable Garlic Variety
Generally, garlic (Allium sativum) is classified into two categories: hardneck and softneck. Each one has unique characteristics and growing conditions.
By the way, you may also have seen huge-looking garlic, which is known as elephant garlic. One of its cloves can be as large as a standard garlic bulb! However, that variety is more closely related to a leek than garlic.
So, let’s just get back to our two-star varieties to help you decide which one is best for your home garden.
Hardneck Garlic
So, here’s the deal with the name: hardneck garlic develops a flowering stock known as the scape. This scape grows through the garlic from the bottom to the top, hardening the bulb’s neck.
Keep in mind that scapes must be pruned before they curl or bloom. Otherwise, they’ll consume the plant’s energy that should be going into growing the bulb. Yet, don’t forget to save the cut scapes for later use in delicious recipes!
Although hardneck garlic has fewer cloves than softneck, the cloves are much bigger. Plus, all hardneck varieties, such as bogatyr and porcelain garlic, stand out with their intense flavors.
This flavor-packed type prefers growing in cold temperatures. It’ll take a few months in cold temperatures ranging from 40-45 °F for its bulb to develop. This explains why hardneck garlic thrives in USDA hardiness zones 1-5.
Softneck Garlic
Softneck garlic lacks scapes. Instead, it has a soft stem and a milder flavor. Plus, because of their pliable necks, they can be neatly braided for storage.
That said, softneck garlic’s skin is tightly wrapped on each clove rather than loose and flakey, as in hardneck varieties. That’s why they store better and last longer.
You see, their firmly wrapped cloves retain moisture better and are less likely to become infected with a disease. That’s why they can keep their freshness for up to nine months if properly cured and stored!
Softneck garlic prefers warmer temperatures, so it should be planted during the hot summer months or the mild winter months. Consequently, USDA hardiness zones 8-12 are ideal for growing this variety.
Choose the Optimal Growing Season
Garlic is typically planted in the fall, specifically in October. However, the exact month for growing will solely depend on your region’s climate. For example, if you live in the North, you can plant it a month earlier or later than in the South.
To take the guesswork out of the equation, plant your seeds at least four to six weeks before the signs of the first frost.
Prepare the Soil
To begin, you’ll need to till the soil. Then, you can test it to verify its current components and how well they align with garlic requirements.
For one, garlic thrives in well-drained soil with a pH between 6 and 7. Plus, since it’s considered a heavy feeder, it’ll appreciate a high organic matter content, such as well-rotted manure—fresh manure may contain bacteria that can contaminate the plant and cause diseases.
Based on the test results, you might also need to balance the phosphorus and nitrogen levels. However, using urea might be better than nitrogen which doesn’t stay in the soil for very long. Of course, you’ll still need to supply nitrogen while growing garlic, but we’ll get to that later!
Get Local Cloves (Seeds)
It’s best to obtain the cloves (which will serve as seeds during the planting process) from a reliable local source. You can get them from a farmer’s market, a local nursery, or a local seed supplier; just avoid store-bought ones.
That’s because there’s a good chance that the garlic sold in stores has been treated. Moreover, it might not be grown in your area, so it won’t thrive in the conditions there.
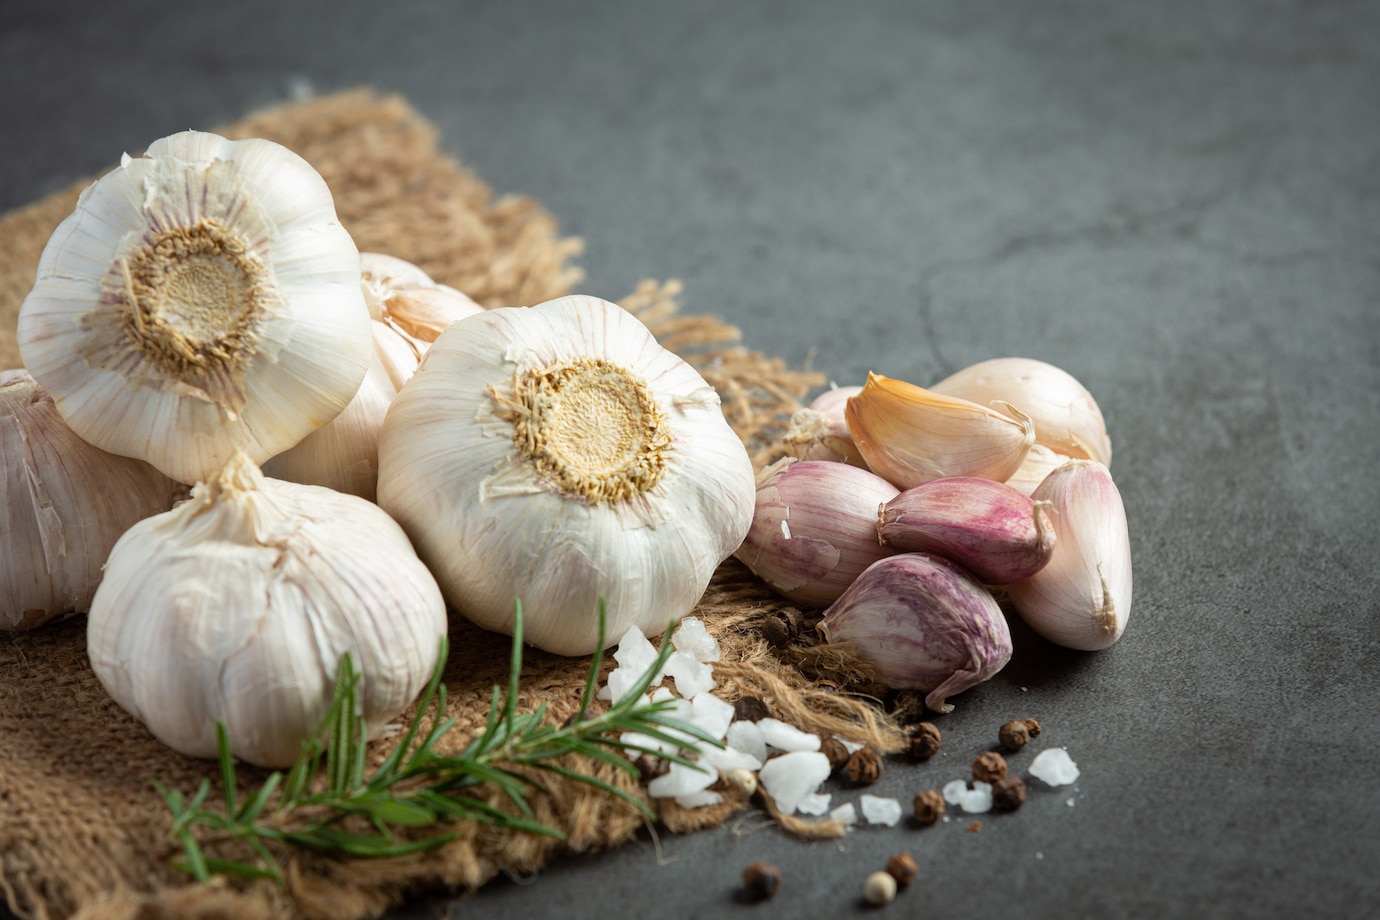
Separate the Bulb
You’ll need to separate the garlic bulb just before planting your precious Allium sativum. While breaking up the cloves, be careful not to remove the thin papery skin that wraps them.
Then, select the largest, healthiest cloves you can find. It might take some extra time, but it’ll reflect nicely on the bulbs you’re about to grow.
You should also carefully inspect the cloves for any signs that they may be infected with a disease. Then, eliminate those to avoid contaminating your soil with pathogens.
Set the Cloves in Position
Garlic grows best in direct sunlight, so choose a position accordingly.
Start by creating two parallel rows 30 inches apart in the soil. Next, distribute the seedlings along the rows, leaving a gap of 6 inches or so between each one.
It’s important not to plant cloves too close together. Simply put, when plants crowd the soil, many problems arise that could slow or even halt their growth, such as competing for water and nutrients.
When you’re finished planning the placement, dig about 2 to 3 inches beneath each seedling. Place the cloves in their designated dug spots, with the pointy end facing up and the base facing down, then cover them with soil.
Apply Mulch
For the finishing touch, cover the soil with 3 to 4 inches of organic mulch. It can be loose straw, mulch hay, shredded leaves, or whatever you have on hand.
Mulch will work wonders for your plants by protecting them and promoting their growth. Some of its benefits include:
- Retaining moisture and nutrients in the soil.
- Inhibiting weed growth by blocking light from entering the ground.
- Regulating soil temperatures by keeping it warmer on chilly days and cooler during hot ones.
You can remove or lessen the amount of mulch in the spring after the threat of frost has passed.
Garlic Care: Watering and Fertilization
It takes eight to nine months for a garlic plant to fully develop a bulb. During that time, you’ll need to focus on two major aspects contributing to its healthy growth: watering and fertilization.
On a side note, it’s critical to educate yourself on common garlic diseases and pests. This way, you can better identify and manage them in their early stages.
Watering
Garlic requires only a few deep waterings. More specifically, you’ll need to water the soil thoroughly every week to a depth of at least one inch. Maintain this weekly watering schedule throughout the growing fall season.
Just be aware of overwatering the soil, as this can cause a variety of issues, including root rot. For instance, it’s crucial to adjust the watering after a rainy day based on the soil’s moisture level. Signs You’re Overwatering Your Indoor Plants and What to Do About It.
During the cold winter months, you can pause watering to resume when the weather warms up again and the soil thaws. Plus, when the scape of hardneck garlic spirals, you must cut it and stop watering the plant. You’ll do the same with softneck varieties about a week before harvest.
Fertilization
Ideally, you’ll need to select a nitrogen-rich fertilizer, like those containing blood meal. Assuming you planted the cloves in the fall, you should fertilize them in the spring.
Side-dressing the soil would work best. So, work the fertilizer about an inch deep and 3-4 inches away from the plant.
Repeat this process every three to four weeks until the bulb forms, which is around mid-May. After that, don’t supply the soil with nitrogen, as this can stunt the plant’s growth.
How to Harvest Garlic
Now comes the easiest and most rewarding part: harvesting your garlic!
Determine Harvest Date
First, determine the estimated harvest date of the variety you’ve chosen. For example, if you planted in the fall, this date could range from June to August, depending on where you live.
Generally, garlic will be ready to harvest sooner in warmer climates of the South.
Look for Indicators
The stalks of Allium sativum are the primary indicator of when it’s ready for harvest. Normally, the stalks are green and perky, but this changes when the bulb is ready to come out. When it’s time, the stalks start taking on a yellow shade, then they turn brown and droop.
Some people may be concerned at this point, thinking the plant is dying, but don’t worry; with garlic, that’s actually a good sign!
If you discovered that two-thirds of the garlic stalks are now in this new form, it’s time to take one out and test it.
Test One Bulb
To do so, pick up a trowel and gently work the soil around one bulb so you can remove it without damaging it.
Inspect the bulb you pulled out to see if the cloves are filling out the skins and if it has grown to the appropriate size for its variety. If this is the case, congratulations; it’s time to get those bulbs out of the ground!
Don’t fret if it’s not ready; just keep watering the remaining bulbs and check on them after a week.
How to Properly Cure and Store Garlic
Try to contain your excitement because you won’t be able to eat that fresh garlic right away. It must first be properly cured before it can be stored and used.
Here’s what you should do:
Clean the Bulbs Gently
You’ll start by leaving the entire plant intact and gently shaking or rubbing the excess dirt off the bulbs.
You only need to remove the loose soil particles, not the entire layer. Keep in mind that fresh bulbs can easily be injured, making them more susceptible to infection. So, handle them with care.
Cure the Garlic
Curing garlic after harvesting is essential because that’s what shapes the bulbs for long-term storage.
Choose a suitable location for this mission because it’ll take up to two weeks to cure the garlic. Ideally, the temperature in this location shouldn’t be above 90 °F or in direct sunlight, or the garlic will suffer from sunscald.
To avoid mold and disease, cure them in a shaded, dry, and well-ventilated area. Then, space them apart on a wire mesh, rack, or anything perforated that will allow air to flow.
When the roots are dry and the bulb is papery, you’ll know the curing process is complete. The roots can then be removed; cutting the stems is optional in case you grew softneck garlic and want to braid it.
Store the Garlic
To keep the garlic fresh for as long as possible, store it at temperatures ranging from 30-32 °F. The room’s relative humidity should also be low, around 60 to 70%, to prevent moisture accumulation.
After all, high humidity levels promote mold growth. This is another reason to store the bulbs in ventilated containers or mesh bags. Garlic can be stored under these conditions for as long as its variety is intended to last.
This duration could be up to six months in the case of hardneck garlic!
For short-term storage, garlic can be kept in temperatures ranging from 68-86 °F with low relative humidity. In that case, the bulbs should last one to two months. After that, they’ll probably become soft or shrink in size due to losing their moisture.
Did you know?
Garlic is often used as a companion plant because it repels pests.
The Takeaway
Now that you know how to plant garlic, we hope your inner planter is motivated enough to start sourcing cloves!
Fortunately, garlic isn’t a demanding plant, so you won’t have trouble keeping up with it.
Finally, remember to save some of the best bulbs, so you can use them for your upcoming garlic planting or even give some to your friends and spread the benefits!
Related posts: