How to Grow Delicious Green Beans in Your Backyard
As food, we all know how nutritious green beans can be. Yet, did you know that they’re also pretty versatile? You can eat them raw, roasted, steamed, or sauteed. They also make a tasty addition to stews, soups, and casseroles.
You also probably didn’t know that green bean plants are one of the most low-maintenance and gardener-friendly species to grow.
In this post, we’ll look at the different varieties of green beans and how ‘green beans’ can actually be considered a misnomer. We’ll also discuss the right conditions for planting green beans and when is the perfect time to harvest your legumes.
So, if you’ve been thinking about adding green beans to your vegetable garden, then you’ve come to the right place. Keep reading for more.
Planting Green Beans
Before we get into any more details, you have to decide whether you want to grow pole beans or bush beans.
Take a look.
Pole Beans
As the name suggests, pole beans are terrific climbers. They latch on to almost any structure and just twine upward. As they crawl up, they’ll continue to produce their fruit continuously.
The only thing that stops their growth is if they’re killed by frost or heat. Because pole beans are steady growers and readily produce their fruit, there’s no need to use succession planting.
Bush Beans
Bush bean plants don’t twine or climb on trellises. They simply grow as bushes. Then, once they reach a certain height, they begin producing fruit. After that, they just stop growing.
Keep in mind that when planting bush beans, it’s a good idea to sow the seeds over a period of about 10 days. Known as succession, or successive, planting will help ensure healthy plant growth and keep the harvest coming at a steady pace.
Growing Conditions
No matter which type of green beans you’ve chosen, the best time for sowing the seeds is after the last frost date. When that will be exactly depends on which USDA hardiness zone you live in, which is why it’s essential to know your area’s hardiness zones as well as those frost dates to help keep your garden healthy and thriving all year long.
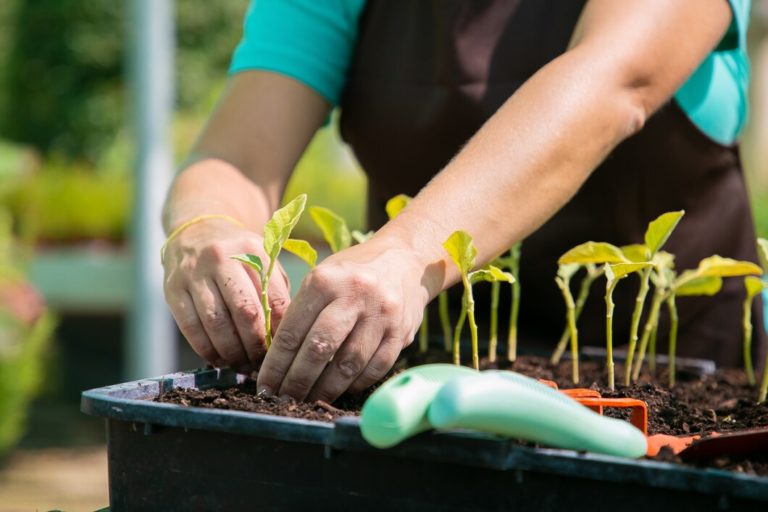
Seedlings vs. Seeds
You can always buy a small green plant from any local store or online. With seedlings, you’ll need to start them indoors first and give them about three weeks until they’re ready to go outside.
If you’re sowing seeds, it’s better to do it directly outside because green beans tend to have fragile roots. So, starting the process indoors can make it difficult to transport the seedling once it’s ready to go outside.
Nevertheless, if you prefer sowing the seeds indoors for any reason, just make sure you use a seed-starting mix. First, lightly water the soil until moist, then place the planting pot at room temperature between 60℉ and 85℉. Then, after about a week to 10 days, the seeds will begin germinating.
Remember, seedlings do well when they’re placed under grow lights. Then, when the temperature of the soil outdoors becomes a nice, warm 70℉, you can transplant them outside.
Yet, before you can do that, you have to prepare your plants for outdoor life through a process known as ‘hardening.’ This is when you put the pot with the seedling outside for about half an hour on day one.
Then, add about 15–30 minutes daily to get them acclimated to the sun, wind, and other external elements. Repeat this process for no less than 10 days. By that time, your plants will be ready to handle being outdoors.
Soil
When your seedlings are ready to be moved outdoors, carefully remove them from their pots by loosening the soil from the sides of the container. Then, dig a small hole in your well-worked, fertile soil and gently lower the seedling. Finally, cover up the roots and pat the topsoil down to secure the small plant in place.
Green beans prefer to grow in soil with pH levels ranging from 6.0 to 7.0. In other words, the soil should be slightly acidic to neutral.
If you’re unsure about the soil pH, you can use a soil test. Then, make any necessary adjustments accordingly.
Are you growing pole beans? Then, you’ll need to provide them with a structure to climb onto. There are many great options for sale, or you can make your own with several bamboo stakes tied together with rope.
Once the trellis is in place, plant about three seedlings around each pole. Then, in a few weeks, those bare trellises will be covered with vigorous, healthy green bean plants.
On the other hand, if you’re planting bush beans, leave about 4–6 inches between the seedlings. Then, add a layer of organic mulch a couple of inches thick to warm the soil when temperatures drop and retain moisture.
Another benefit of organic mulch is that it helps give the plants the nutrients they need to grow and develop. Plus, it acts as a barrier, protecting the foliage from pathogens potentially residing in the soil.
Water
The most important thing you have to know about green beans is that they’re shallow-rooted. This means that they have a small root system compared to their size.
So, to ensure they’re getting the right amount of water, you have to give them about an inch per week. Then, you can increase that a bit more during the summer. Also, if it rains less than one inch during any week, you can give them more water.
A great way to ensure the plants always get the water they need is to set up automatic timers on a drip irrigation water system. Soaker hoses are also another terrific idea.
Whichever water system you use, just make sure it’s at the base of the plant beneath the foliage and not overhead. The reason is that getting the leaves wet makes them susceptible to diseases.
Light
Green beans grow best in direct sunlight; the stronger, the better. In fact, they have no problem staying in full sun all day long.
The general rule for these hardy legumes is they should get a minimum of six hours of direct sun each day.
Fertilizer
Fertilizing green bean plants is something you don’t have to worry that much about. They’re actually pretty good at making their own by teaming up with nitrogen-fixing bacteria.
All they want from you is to add 2–3 inches of compost at the base of the plant every few months. It’ll help keep the soil fertile and rich in organic material.
Pests and Diseases
Luckily, green beans are hardy and tough. Yet, being categorized as resistant to diseases doesn’t make them entirely immune. So, you need to exercise caution and keep a close eye out.
One pest you have to watch out for is the Mexican bean beetle, a distant cousin of the lady beetle. Yet, while the latter benefits plants, the former damages them.
Orange with black spots, the Mexican bean beetle lays its egg clusters underneath the leaves. The yellow eggs quickly hatch into yellow larvae that start to eat away at the leaves.
If you find any yellow egg clusters, you’ll have to remove them by hand. You can also use neem oil to wipe them off the leaves. Unfortunately, once found, it can be hard to eliminate them without resorting to chemical pesticides.
You can always try to prevent an infestation by setting up a floating row cover. It acts as a barrier between the insect and the foliage, preventing the beetle from laying its eggs and harming the plant.
However, this cover is better suited for bush beans and can be difficult to use on pole beans.
Here are a few other pests that may attack your plants:
- Aphids
- Bean common mosaic virus
- Bean rust
- Leafhoppers
- thrips
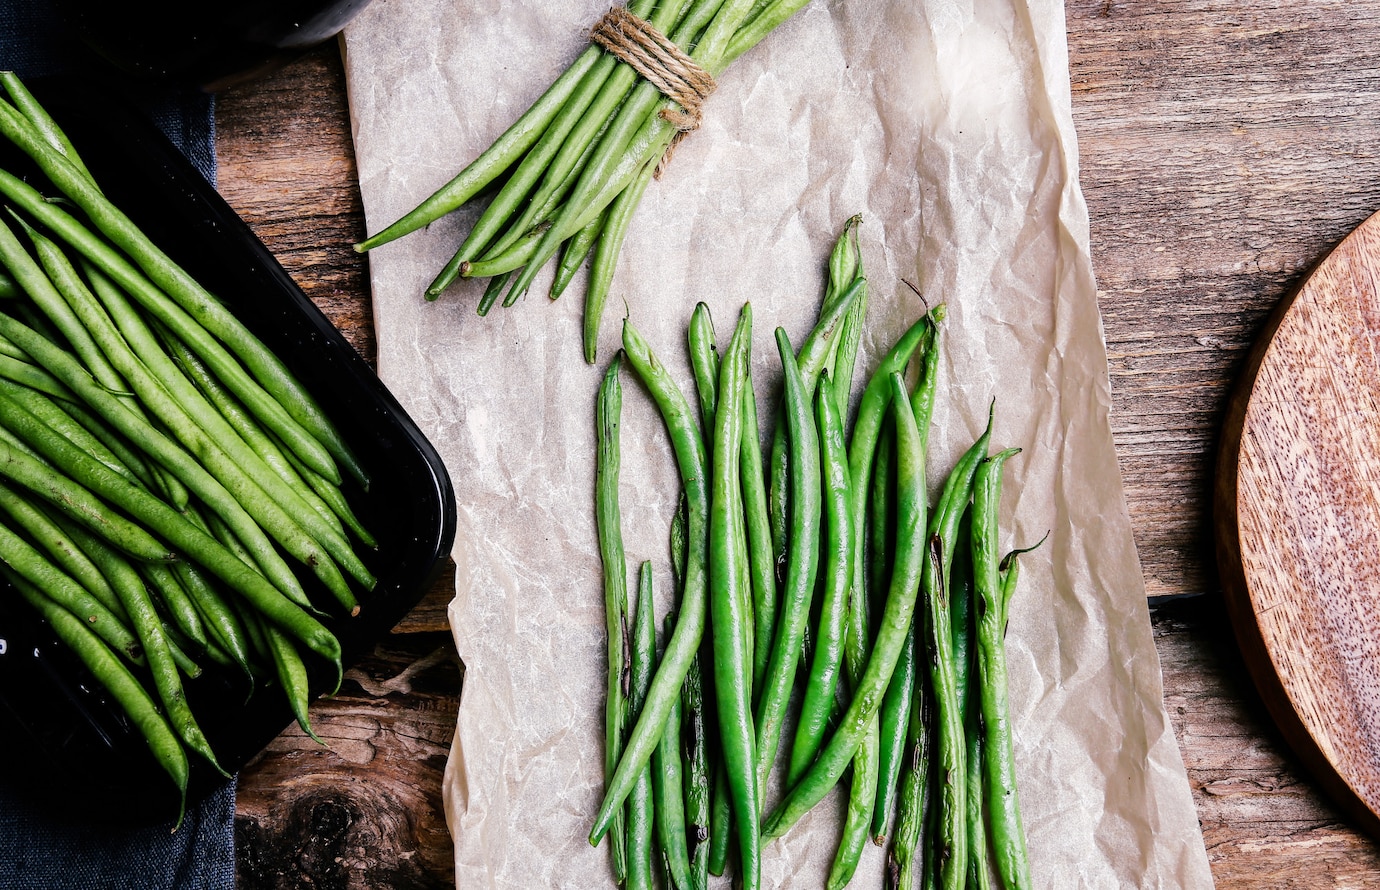
Harvesting Green Beans
All types of green beans will become stringy and tough if left on the plant for too long. Also, it’s hard going by pod size because they vary significantly from one variety to the next. That’s why you have to know just when to pick them to make the most of their delicious flavor.
Bush beans are ready for harvest after nearly 55 days when the pods are about 4–6 inches long and a bit firm to the touch. If you time it just right, the mother plant may decide to produce some more fruit. Sometimes, they give out a second and even a third flush of new pods.
Pole beans, however, need to be harvested two times a week. This ensures that the beans are still young and helps keep the plant vital and productive.
Once harvested, you can enjoy them in a variety of ways. You can eat them fresh, chop them up and add them to whatever’s for dinner. You can also can your green beans or store them in the freezer and enjoy these tasty legumes for weeks to come.
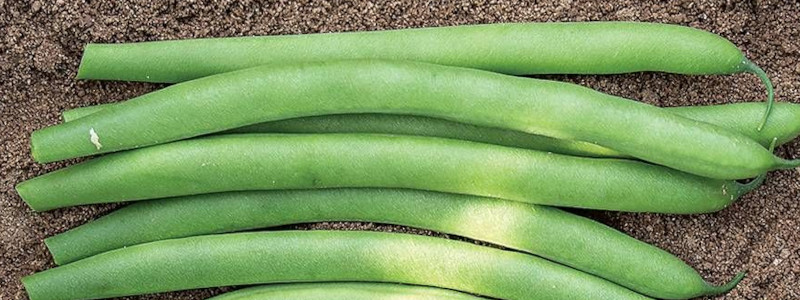
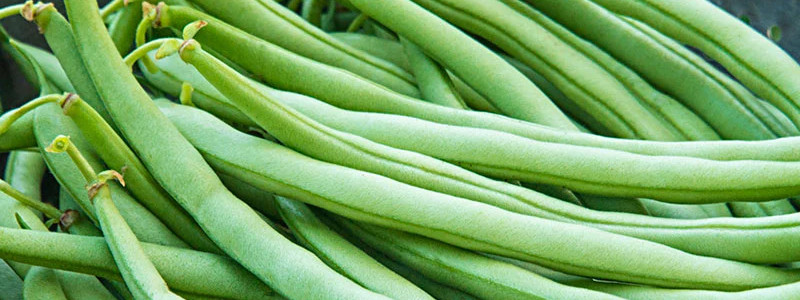
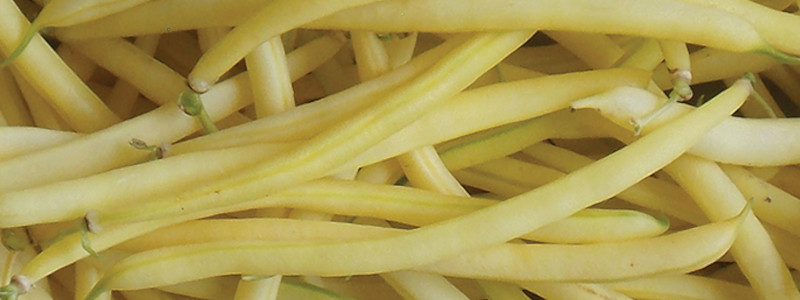
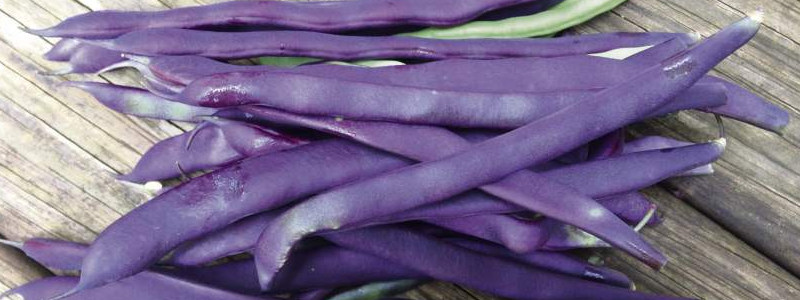
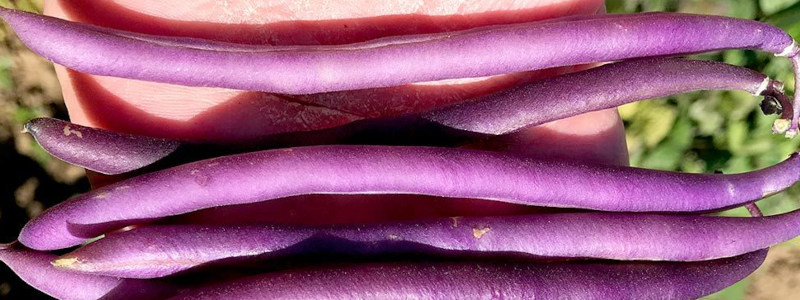
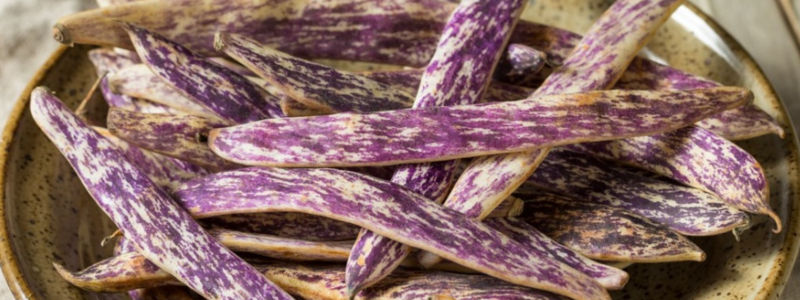
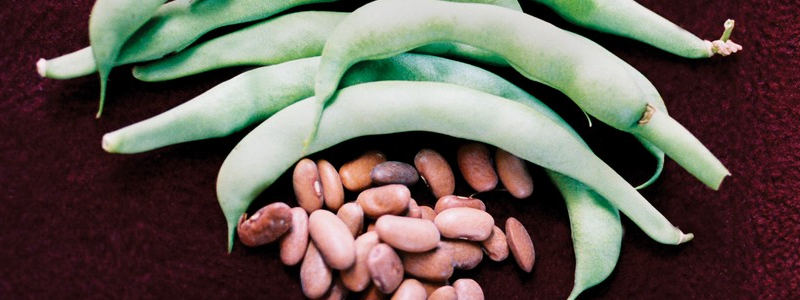
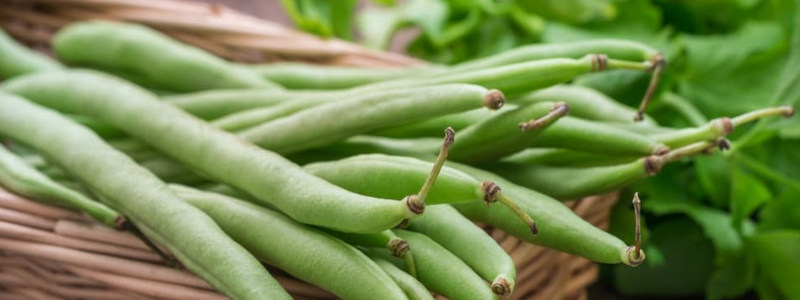
Green Bean Varieties
You’re probably more familiar with the most standard type of green beans, which is typically green. It’s a cultivar of phaseolus vulgaris.
However, most of the green bean’s other varieties come in an array of different colors, like purple and yellow. There are even multi-color varieties that are a combination of purple and green, which is pretty fun.
Here are the 10 most common green bean varieties.
-
Antigua
This bush bean takes about 55 days to mature and can grow up to 18 inches. It’s known for its high resistance to diseases and pests and its 5-inch dark green pods.
-
Blue Lake Pole
Popular in regions of the Pacific Northwest, this pole bean variety can grow up to seven feet tall. It reaches maturity in about 75 days and grows several lengthy pods that are nearly seven inches long each.
It’s worth mentioning that there’s a bush variety of the Blue Lake, but its pods are much shorter.
-
Borsalino
The Borsalino is a type of French bush bean plant famous for being vigorous when it comes to producing fruit, thanks to its ability to fight off diseases. The pods on this plant are bright yellow and reach peak flavor when they’re about four and a half inches long.
Borsalino plants can grow to a height of 20 inches, maturing after about 60 days.
-
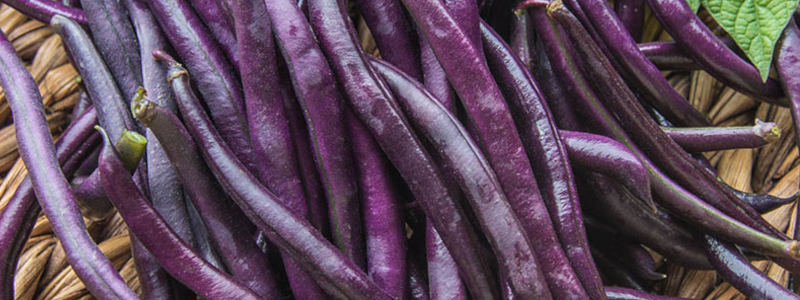
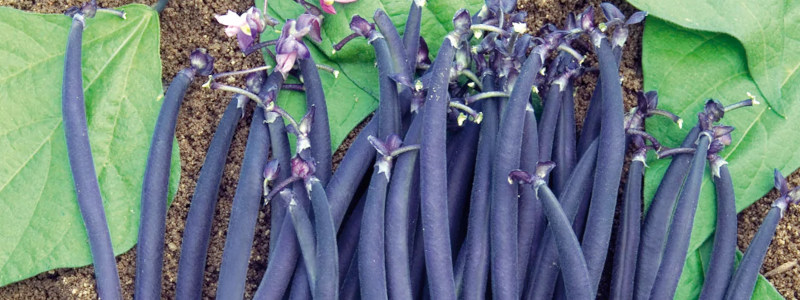
Carminat
Another pole bean variety, the Carminat, is a heavy producer of long, slender purple pods that turn green when cooked. When harvested, these pods can reach nearly nine inches long.
The plant matures after about 62 days or until it snows. If provided with a high enough trellis, it can reach nearly eight feet tall or more.
-
Celine
Maturing after 55 days, the Celine bush-type green bean variety is one of the most tender varieties on our list. It heavily produces lilac-colored pods typically five inches long, while the plant usually reaches about 20 inches in height.
-
Dragon Tongue
Dragon Tongue green bean plant grows to a maximum height of 30 inches and takes about 30 days to mature.
They get their strange name from the color of their pods. Even though they’re mostly green, they’re also covered in flecks of purple.
When the pods are still young, you can enjoy them as a snap bean. Then, when they mature, pick them off the plant and shell them.
-
Kentucky Wonder
This hardy pole bean can reach up to eight feet tall. It takes about 70 days to mature and is known for producing 6 to 8-inch silvery-green pods.
It’s easy to recognize this variety because the pods are flat and straight, rather than the curvy and round pods of most other varieties.
-
Purple Queen Improved
Even though this bush bean plant produces 6-inch straight purple pods, they quickly turn a dark shade of green when cooked. The plant itself can reach up to 24 inches and is known for its ability to resist cold temperatures.
-
Velour
Another hardy bush-type plant, the Velour, is resistant to diseases and the cold. It reaches maturity after about 55 days.
During that time, it produces round, smooth pods nearly six inches long. However, their most striking feature is their deep purple color.
-
Wyatt
Last but not least, the Wyatt bush bean plants take about 54 days to mature. These may be the most compact variety on our list, growing up to only two feet tall, but they’re highly resistant to diseases.
They’re also best known for their 6-inch slender pods that grow in a rich shade of emerald green that darkens when cooked.
To Sum Up
You’re now a bonafide expert on the whole process of planting green beans. These hardy plants are easy to grow and maintain, making them perfect for beginners and experts alike.
Plus, they grow quickly and are generally ready for harvesting after a couple of months. Then, you can enjoy the fruits of your labor any way you like!
Did you know?
Beans are a popular choice for companion planting because they can help fix the nitrogen level of the soil!
Related posts: